
This article provides a structured guide for those wishing to create a customised Bike paint finish with an airbrush on their bicycle frame using the Stardust Bike range. It covers the fundamental steps and the specific methods used in this type of application.
The procedures used for painting a bike are directly inspired by automotive standards. To succeed in such a project, it is essential to choose a professional-quality paint, whether in aerosol or can, and to follow a strict method.
Absolutely avoid consumer-grade products, which deliver inferior results. A poorly prepared renovation project can quickly go wrong.
It is therefore strongly recommended to read the technical sheets of the Bike paint kits carefully before starting.
Using the airbrush for decoration
The airbrush is a kind of mini spray gun, with nozzle sizes ranging from 0.15 to 0.5 mm.
All automotive paints can be used as Airbrush paint, provided they are sufficiently thinned, depending on the nozzle size.
In general, basecoats and Clearcoats must be applied with a spray gun. The airbrush should be reserved for decoration, special effects, and of course stencils.
Tip : check out the complete kits specially designed for bikes, including effect paints.
Summary of steps to follow
1. Disassemble the entire bike
2. Clean with a suitable degreaser
3. Sand the surface and remove stickers with heat. Use P320 abrasive without removing deeper coats
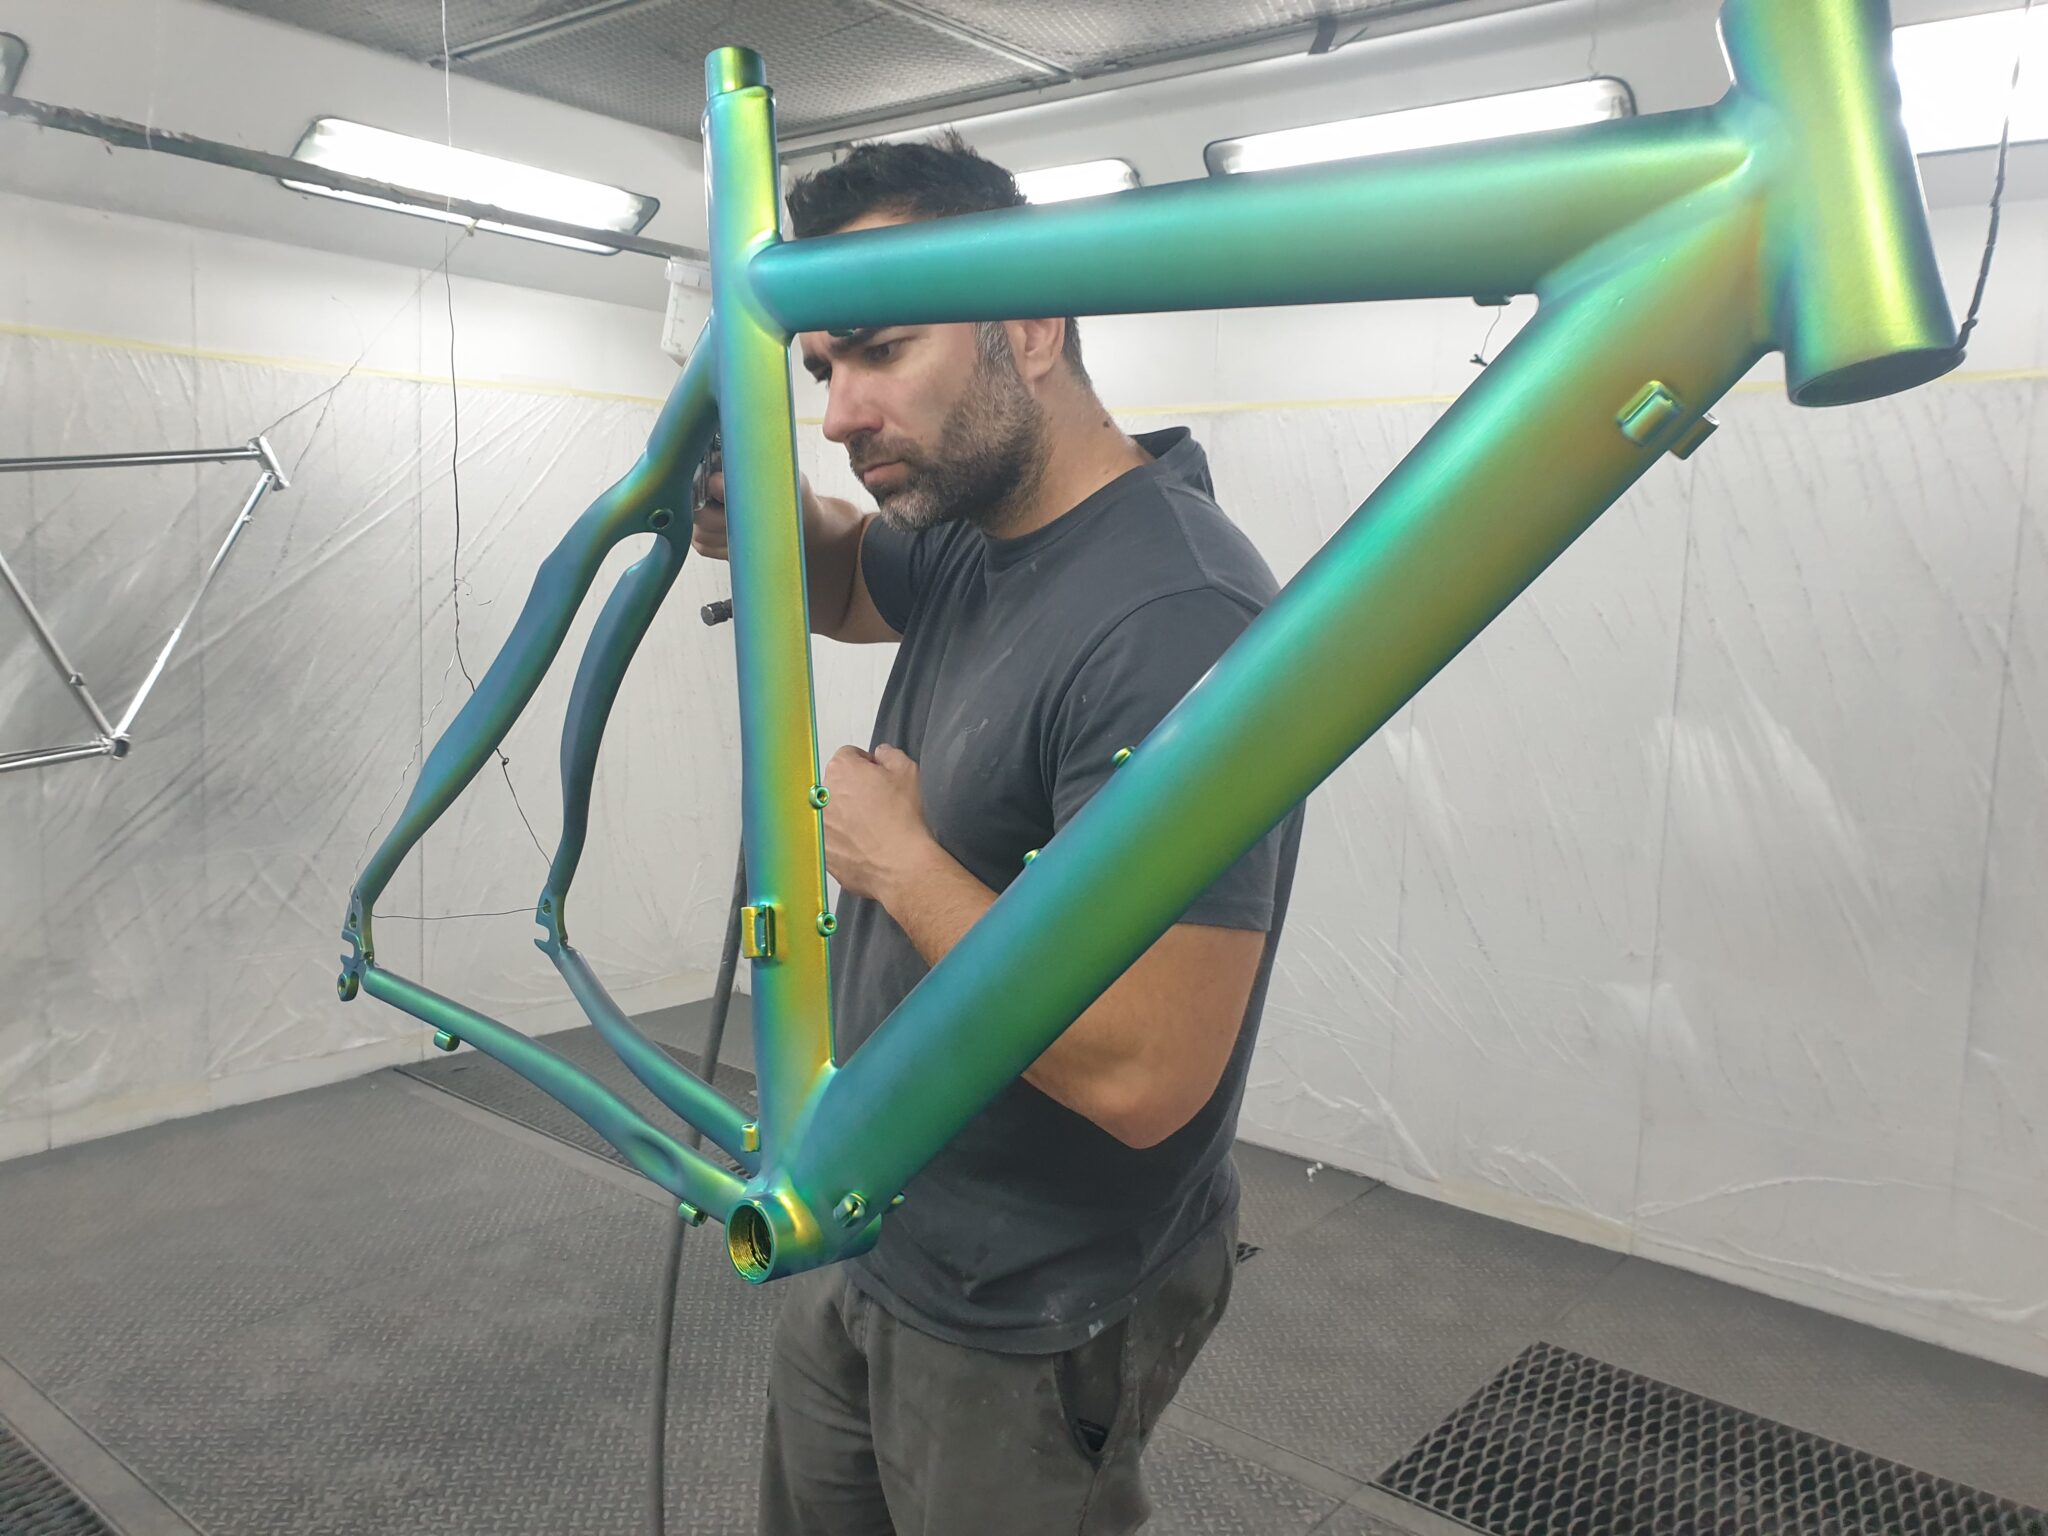
4. Suspend the frame and fork for painting
5. Apply a filler primer or one specific to the material. Drying time: 2 to 4 hrs
6. Sand with P500 paper
7. Paint the different shades, sanding with P500 and masking between each application. Allow 1 hr drying time between coats
8. Finish with two coats of two-component Clearcoat suitable for bike frames
Carrying out Bike paint: don’t be fooled by appearances
Videos on social media can make the process look easy. In reality, if you are not a professional, the slightest mistake in preparation or execution can compromise the look and durability of your project. It is therefore essential to take the time to understand the products, anticipate each step, and if necessary, contact a technical expert for guidance.
How to paint a bike frame: from preparation to Clearcoat
Whether you use a spray can or a spray gun, the principles remain the same, since the chemical formulas are identical. What matters most is rigorous preparation, precision in application, and careful planning. The process relies on a multi-layer system:
• Preparing the substrate (sanding, cleaning, priming)
• Applying the paint (single or multi-coat)
• Applying the Clearcoat (for protection and finish)
Detailed steps :
1. Complete disassembly
The entire bike must be disassembled: saddle, crankset, cables, brakes, wheels, etc. It is also recommended to block the frame openings to avoid infiltration. Partial disassembly will not allow clean and complete work.
2. Deep cleaning and stripping if necessary
Remove all traces of grease or impurities before sanding. A carbon frame can be stripped with a specific aerosol, while a metal frame can be sandblasted to save a few hundred grams.
It is preferable to keep the factory primer layer, unless it is damaged. If the substrate is bare, a suitable adhesion primer (aluminium, steel, carbon) is essential.
3. Sanding the Clearcoat
Sanding with P320 grit allows the paint to adhere effectively. This step also helps to remove stickers sealed under the Clearcoat. A heat gun is useful for removing them without damaging the surface. Once removed, sand to level the surfaces.
4, 5 and 6. Suspension and priming
Suspend the frame at working height with wire. Apply a filler primer to smooth imperfections and provide a uniform base. This product ensures good adhesion on carbon or steel, but for flawless performance, apply a fine adhesion primer coat first.
The primer dries in 2 hrs at room temperature and can be sanded with a block and P500 paper, ideally wet, to correct defects and smooth the surface.
A 2K paint finish is possible without Clearcoat, but this type of application does not allow special effects such as pearlescents or metallics.
Application of the paint
Before painting, check that sanding has been done correctly and that the frame is perfectly clean and dry. The grit used should never be finer than P500, otherwise adhesion between coats may be compromised.
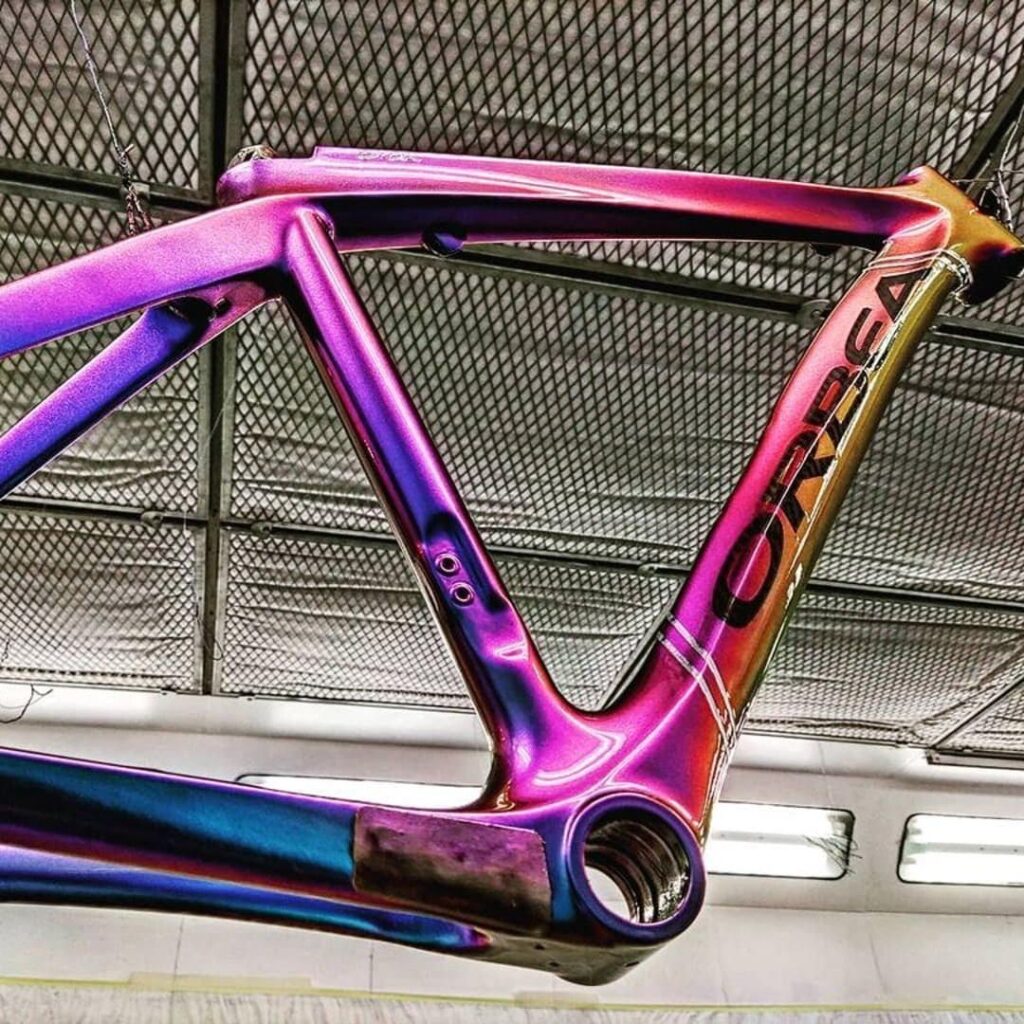
Painting and decoration
Decorations are applied with matt 1K basecoats to be Clearcoated, which are easy to handle and quick drying. More than 100 colours are available in the Graphic and Sparkle ranges (125 ml). Any Airbrush paint, whether water-based or solvent-based, can be used.
Work in a dry, dust-free environment, with a temperature between 15 and 25 °C.
Recommended tools
Although aerosols give good results, they are costly (75% gas). The airbrush is ideal for small decorations. The best option remains a spray gun or mini spray gun, for complete coverage even in hard-to-reach areas. A single tool can be used for primer, paint and Clearcoat, provided the nozzle and thinning are adjusted correctly.
Designing the decoration
For overlapping colours or effects, establish a clear application strategy:
• Apply light colours first (white, red), then dark colours
• Follow the rules of background colours for special effects: chameleon, holographic, metallic, etc.
Rule of recoating
A solvent-based 1K basecoat can be recoated within 30 minutes of application to ensure wet-on-wet adhesion. After this time, sand before applying another coat or a Clearcoat.
Sanding between coats
• Use sandpaper on primers, standard paints and Clearcoats
• Use a grey abrasive sponge for pearlescents, metallics, chameleons
Pro tips for a professional finish
Prefer several thin coats rather than one thick coat.
• Spray gun: thin, even coats
• Aerosol: quick passes
This is particularly important for special paints. Avoid coats that are too thin in hot, dry air.
The thinner the total film thickness, the better the result :
• lighter final weight
• fewer risks of cracks or delamination
Creating patterns, logos and decorations
On the sanded base (P500), you can apply simple or complex designs using masks, adhesive films or cut-out stencils. A scalpel and fine PVC tapes or transparent self-adhesive film allow you to position lettering or logos precisely, either freehand or with digital cutting.
Sticker integration
Stickers must be applied between the paint and the Clearcoat. Place them on sanded, dry paint, or on fresh paint dry to the touch, before Clearcoating. The prints are compatible with professional Clearcoats. Two coats of Clearcoat are enough to cover the sticker thickness.
Applying the Clearcoat
Final phase: applying the Clearcoat, which enhances the colours and ensures the durability of the coating. This can be applied:
• On fresh paint (between 10 and 30 minutes after application)
• Or on dry paint, after light sanding
Two full coats are enough for a glossy finish without runs.
Choosing the right Clearcoat
Always use a two-component Clearcoat, whether matt, gloss, flexible or rigid. A low-grade Clearcoat will compromise long-term durability.
• Road bike: opt for a hard, lightweight and high-gloss Clearcoat (e.g. ST8900x ceramic Clearcoat)
• MTB / cross bike: choose a flexible Clearcoat, impact-resistant
How many coats?
Two coats are essential to achieve a 50-micron dry film thickness, ensuring both protection and shine. Two passes spaced 10 minutes apart, then 24 hrs drying, are required.
 Beyond two coats, gloss decreases and the risk of cracks increases due to excessive thickness.
Touch-up and re-Clearcoating
If the Clearcoat finish is imperfect (dull, runs, etc.), it is possible to sand the surface lightly after complete curing, then apply one (or two) additional coats.
If you would like to learn more about the techniques for applying Bike paint, with or without Airbrush paint, we recommend reading this very detailed article: Paint a bike
The post Applying Airbrush paint to a bike: techniques and tips for an optimal finish appeared first on Discerning Cyclist.