Every cyclist dreads the sudden hiss of a deflating tire.
Whether commuting to work, running errands, or enjoying a leisurely ride through the city, a flat tire can quickly “deflate” your plans.
But, with some knowledge and the right tools, you can turn this frustrating experience into a minor hiccup.
This guide will walk you through the essential steps to fix a flat tire. You should feel more confident and prepared to tackle a flat by the end.
Initial Steps When You Get a Flat
When you notice your tire is flat, the first order of business is safety.
Find a safe spot to pull over—preferably a flat area away from traffic where you can work without distractions.
If you’re in a busy area, move your bike to a sidewalk or another pedestrian area out of the way.
Secure Your Bike: To avoid damaging the derailleur, lay your bike down on a flat surface on the non-chain side.
Prepare Your Workspace: If you carry a small mat or cloth, lay it out to organize your tools and keep small parts from getting lost.
Assess the Damage: Take a quick look at the tire to identify if the flat is due to a puncture, a tear, or maybe just a slow leak that’s worsened. This will guide your repair strategy.
ALSO READ: How Firm Should Bike Tires Feel? 3-Step Test without a Gauge

Essential Tools for Fixing a Flat
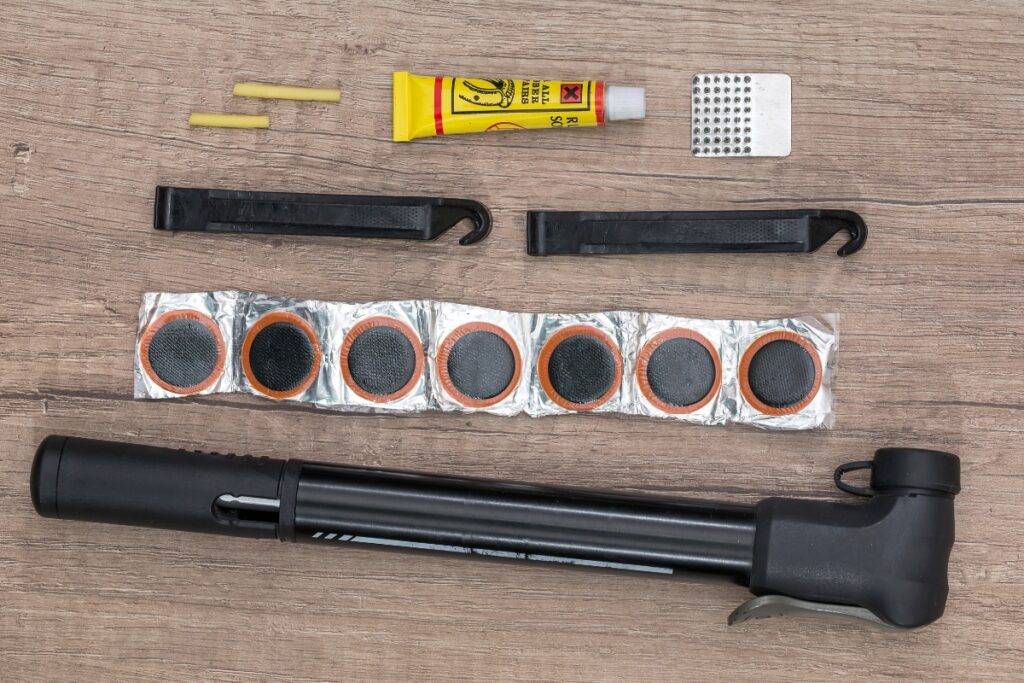
Before you find yourself stranded with a flat tire, it’s crucial to pack a small repair kit that fits easily in your bike bag or backpack. Here’s what you should carry:
Tire Levers: These small but mighty tools are your first line of defense against a flat tire. They help you pry the tire away from the rim to remove the tube. Most sets come with two or three levers.
Spare Tube or Patch Kit: Depending on the severity of the puncture, you might need to replace the tube entirely or simply patch it. Carrying a spare tube is often faster and more reliable, but a patch kit can be a lifesaver if you run out of spares.
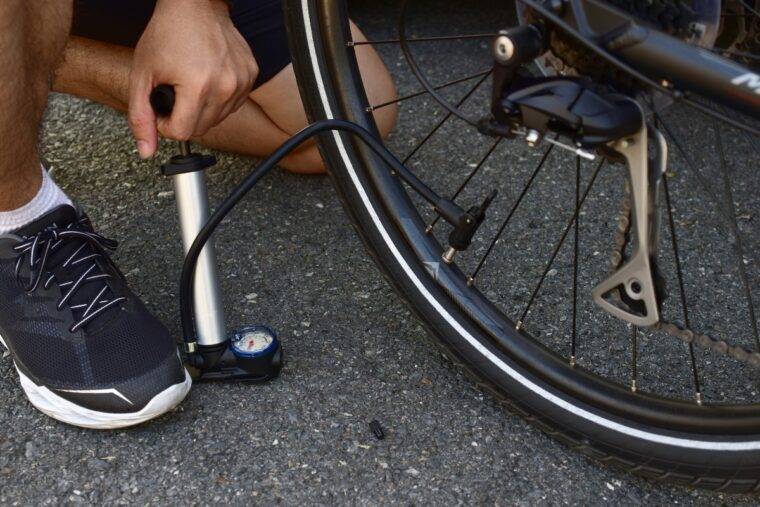
Bike Pump or CO2 Inflator: A portable bike pump is a must-have to re-inflate your tire after a repair. Alternatively, a CO2 inflator can make the job quicker, though it’s a single-use solution and requires you to carry extra cartridges.
Multi-Tool: This isn’t just for fixing flats but is essential for making minor adjustments on your bike. Ensure it includes Allen keys and a wrench that fit your bike’s bolts.

Removing and Replacing the Tire
When you have a flat, the repair starts with removing the wheel and the tire itself. Here’s how to do it step-by-step:
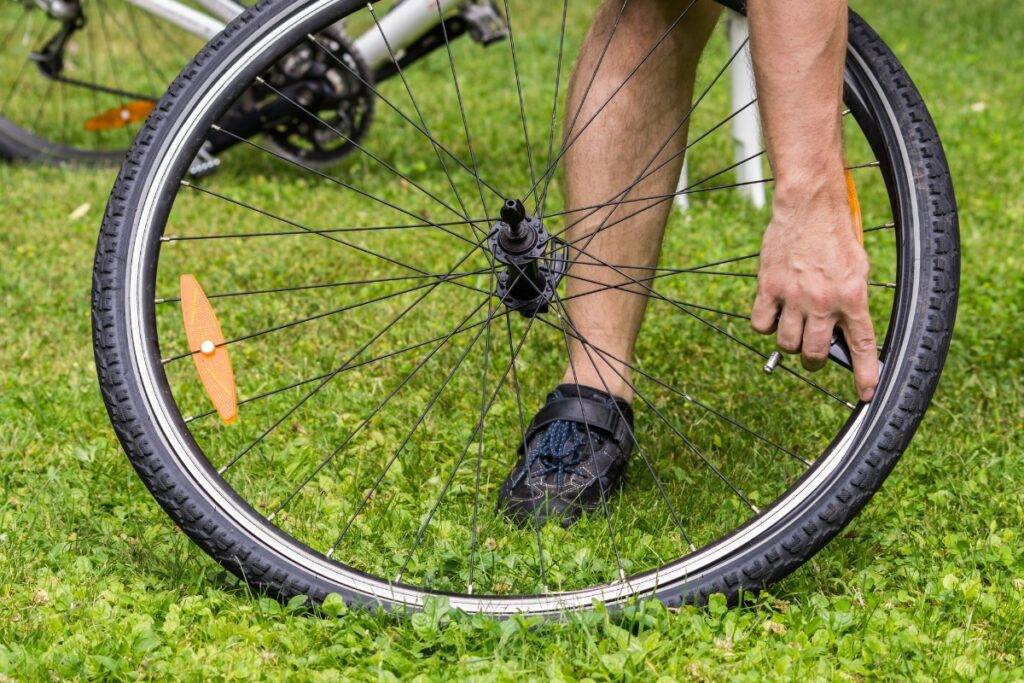
Remove the Wheel: If your bike has rim brakes, disengage them first. Most rim brakes have a simple lever mechanism that allows for quick release.
Extract the Tire and Tube: Start by completely deflating the tube to make removing it easier. If there’s any air left, press down on the valve to release it.
Install the New Tube or Patch the Old One: If using a new tube, slightly inflate it to give it shape. This makes it easier to fit inside the tire and decreases the risk of pinching it when you put the tire back on.
Reinflate and Reinstall the Wheel: Once the tire is back on, inflate it to the recommended pressure using your pump or CO2 inflator. Reattach the wheel to your bike. Make sure the brakes (if you have rim brakes) and the wheel are properly aligned and secured.
Here’s a Helpful Video to Watch:
Quick Fixes Without Tools
Sometimes, you might find yourself with a flat tire but without the full suite of tools. Here are a few tips for managing such situations:
Tire Plugs: For small punctures, tire plugs can seal the hole temporarily. These are especially handy if you have a tubeless setup. Simply insert the plug into the puncture and inflate the tire.
Temporary Patch Kits: Some cyclists carry emergency adhesive patches that can quickly patch small holes in the tube. These aren’t as durable as traditional patches, but they can get you home.
Using a Dollar Bill or Wrapper: A well-known trick among seasoned cyclists is to use a folded dollar bill or a candy bar wrapper as a barrier between the tube and the tire. This can temporarily cover holes or tears in the tire casing, preventing further damage to the tube.
Preventive Measures to Avoid Future Flats
Taking proactive steps can significantly reduce the frequency of flat tires:
Regular Inspections: Before and after rides, check your tires for wear and tear, sharp objects, and adequate tire pressure. Keeping tires properly inflated reduces the risk of flats caused by pinching the tube between the tire and the rim.
Use Puncture-Resistant Tires: Investing in puncture-resistant tires or adding a tire liner can offer a robust barrier against the debris and sharp objects commonly found in urban environments.
Choose the Right Tires for Your Environment: If you frequently ride in areas with thorns or glass, consider thicker, more durable tires. For smoother urban paths, lighter tires might be more efficient.
Carry a Repair Kit: Always have a basic repair kit with you, which should include at least a spare tube, patch kit, tire levers, and a pump or CO2 inflator.
By adopting these preventive measures, you can enjoy more uninterrupted rides and spend less time dealing with flats.
ALSO READ: 8 Things Every Cyclist Should Have in Their EDC (Everyday Carry)
Share the  Love
Love
The post Flat Tire? No Problem! Here’s A Step-by-Step Guide appeared first on Discerning Cyclist.
